
Experience lag while recording gameplay or presentations? Jump into this guide on how to screen record on a laptop with smooth HD output!
Understanding how to screen record on a laptop is now an essential skill in the digital age.

From crafting instructional tutorial videos, documenting crucial meetings or presentations, to recording exciting gameplay for YouTube uploads, all require a screen recording feature.
Unfortunately, many still think the process is complicated and requires a computer with godlike specifications.

In truth, if you grasp how to screen record on a laptop using the right software tools, you can accomplish it in just seconds.
Beyond simply recording, basic technical know‑how helps you produce videos that are far more stable, clear, and professional in the eyes of your audience.
So, what devices can be used and what the correct configuration is to keep a laptop from lagging during recording? Come, check out how to screen record on a laptop below!
How to Screen Record on a Laptop
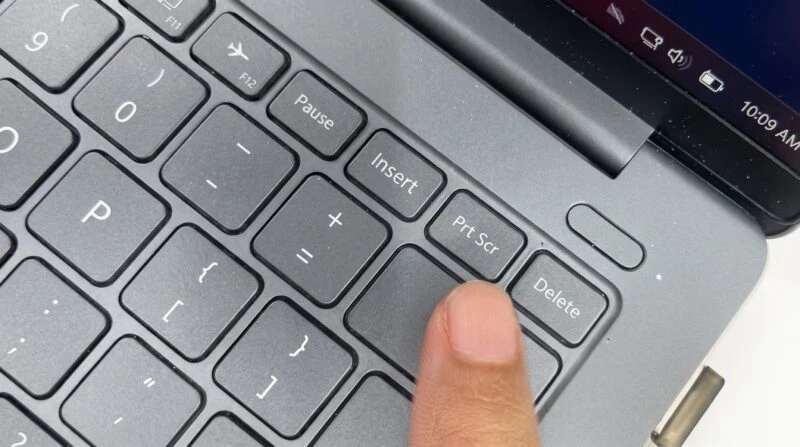
1. How to Screen Record on a Laptop without an App
For those of you using Windows 10 and Windows 11 operating systems, you don’t need to bother downloading third‑party applications. Microsoft has provided a built‑in feature called Xbox Game Bar which is very practical.
What’s more, this external‑app‑free laptop screen recorder leverages GPU acceleration, making the process feel very light and not burdening the CPU.
Here are the steps to screen record on a Windows 10 and 11 laptop using the built‑in feature:
- Open the application or game window you want to record.
- Press the Windows + G key combination on the keyboard to bring up the Xbox Game Bar overlay menu.
- In the screen panel, go to the Capture menu (camera/webcam logo), then click the record button (solid circle).
- For a faster shortcut, you can directly press the Windows + Alt + R key combination.
- To stop the recording, click the Stop button on the floating bar that appears in the corner of the screen. The recording result will automatically be saved in the Videos > Captures folder in MP4 format.
2. Using OBS Studio for Professional Results
If you plan to become a content creator and need more detailed visual control, OBS (Open Broadcaster Software) Studio is the most powerful PC screen recording application (and it’s free!).
This software lets you adjust layout, resolution, frame rate, and audio sources separately.
Technically, OBS works using a Scene (Adegan) and Source (Sumber) system.
- Open OBS Studio, then in the Sources panel, click the Plus (+) icon and add Display Capture to record the entire laptop screen.
- For the best performance, ensure you use a GPU‑based hardware encoder (such as NVENC H.264 for NVIDIA users or AMD HW H.264). This feature will keep the recording process smooth without causing your game or application to stutter.
3. Using a Lighter Alternative Software
Don’t have time to learn OBS’s relatively complex recording settings? Don’t worry, there are alternative software options that are much lighter and beginner‑friendly, such as Bandicam, ShareX, or ScreenRec.
The main advantage of these applications is the availability of instant configuration (auto‑setting). You just need to select the screen area you want to record, then press one button to start.
Even though the configuration is simple, the MP4 quality produced is already quite capable for office documentation or light tutorials.
Secrets of Resolution and Bitrate Settings for Sharp Videos
Many beginner users ignore the settings panel, even though this is where the main key to your video quality is determined. To ensure screen record results are not blurry or choppy, make sure you apply the following standard configuration:
- Resolution
- Use a minimum resolution of 1080p (1920×1080) so that text and visual elements on the screen remain sharp.
- Frame Rate (FPS)
- If you are recording gameplay with many fast movements, you must use 60 FPS to make the result very smooth (smooth). However, if you are only recording presentation slides or a browser, 30 FPS is more than enough.
- Bitrate
- Bitrate is the lifeblood of video clarity. For HD (1080p) recordings, set the video bitrate in the range of 6000 kbps to 12000 kbps.
Tips to Prevent Lag
It must be admitted, screen recording on a laptop is a heavy computational process because it involves real‑time video encoding (directly). If your laptop forces itself, the recording result will experience frame drops (image jumping/choppy) or audio not synchronized.
To make the process optimal, pay attention to the following performance tips:
- Stable recording requires a combination of capable CPU, GPU, and RAM. That’s why many content creators switch to high‑spec laptops (such as the AXIOO PONGO Gaming Series local laptop lineup) which are designed from the start to handle heavy workloads like gaming and recording without significant hindrance.
- Read/write speed of storage space has a great impact. Use SSD NVMe instead of old Hard Disk (HDD) so that the file recording write process is not hindered.
- Turn off Chrome tabs or other heavy applications that are not needed so that all memory resources focus on the recording process.
- The encoding process makes the laptop heat up quickly. Ensure the air circulation underneath your laptop is smooth (use a cooling pad) so that its performance does not drop drastically due to thermal throttling.
- If you are creating a tutorial with voice narration, do not use the built‑in laptop microphone which tends to echo. Use a clip‑on or external USB microphone so that the audience is comfortable listening to it.
FAQ
How to screen record the screen on a MacBook (macOS)?
For Mac users, you don’t need to download additional applications. Just press the Command + Shift + 5 key combination. The screen will display recording area options, then click Record to start recording the screen.
Why is there no sound in my screen recording result?
This problem usually occurs because the audio source (Audio Output) in the recorder settings has not been activated. If using Xbox Game Bar, ensure you activate the microphone icon or go to Settings > Capturing, then change Audio to record to All.
Is screen record duration limited?
If you record using OBS Studio or Xbox Game Bar (with remaining storage settings), there is no absolute time limit other than the remaining storage capacity (storage) on your laptop. However, on the free trial version of applications (such as the unpaid version of Bandicam), the duration is usually limited to only 10 minutes.
It’s very easy and practical to try, isn’t it? Whether using the instant built‑in Windows feature or crafting in‑depth configurations through OBS Studio, the above ways to screen record on a laptop are guaranteed to produce high‑quality videos as long as they are supported by the right settings.
Want to know more tricks about PC software optimization, guides on taking care of gadgets, and various other trusted technology tutorials? Come on, don’t forget to always monitor the latest article developments only at TheCuy Tekno!
thank you for visiting thecuy. 🙂

Penulis Berpengalaman 5 tahun.